Your cart is currently empty!
hearts and laserbeams how to: repeat yourself, repeat yourself part 3!
part 3: making a simple repeat pattern!
ok breaktime’s over folks let’s get back into it! today we’re gonna talk about how to make a simple polka dot repeat in both photoshop and illustrator. you can apply this exact same technique to pretty much anything you want to repeat!
THE most important thing to remember when you’re building your repeat is anything that cuts off on one side of your repeat’s box MUST finish on the other side of your box.
let’s take a look at that simple heart repeat from part 1:
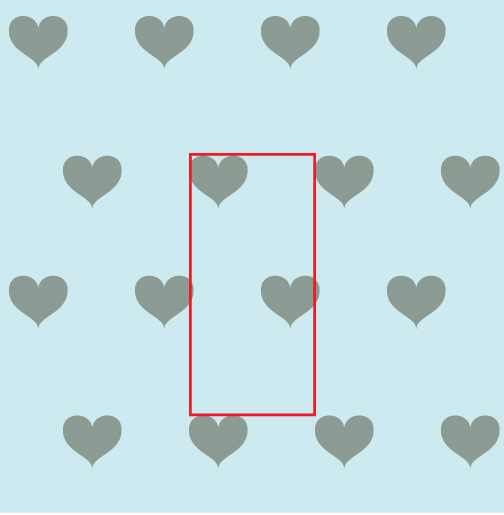
note how the top heart ends right along the top left corner. now look to the right of that repeat box – the next heart starts exactly on the other side of the right edge. the lower heart inside the repeat box, see how it falls under that red box line just a little bit? take a look at the left side of the box – that heart also falls under that repeat’s border, with that same little tiny slice of heart! make sense? no? (if not let me know and i’ll explain again; not sure if that came across right.)
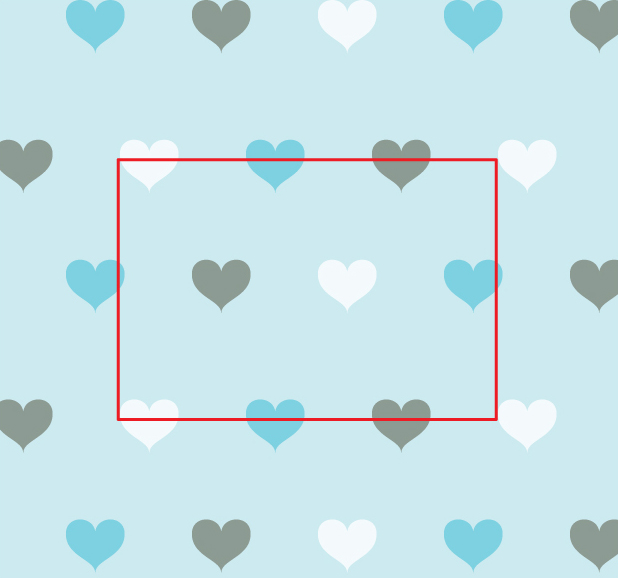
so any element that ends on the left side of the repeat box MUST finish on the right side of the repeat box. same thing for any element that ends at the top of the repeat box – it MUST finish at the bottom of the repeat box. take a look again at the multicolored hearts from part 1, it’ll be a little clearer:
ok so we’ve got that part, right? and you’ve got your file set up – let’s make a simple polka dot!
creating a polka dot in photoshop
1) open your file that you created in part 2 of this tutorial!
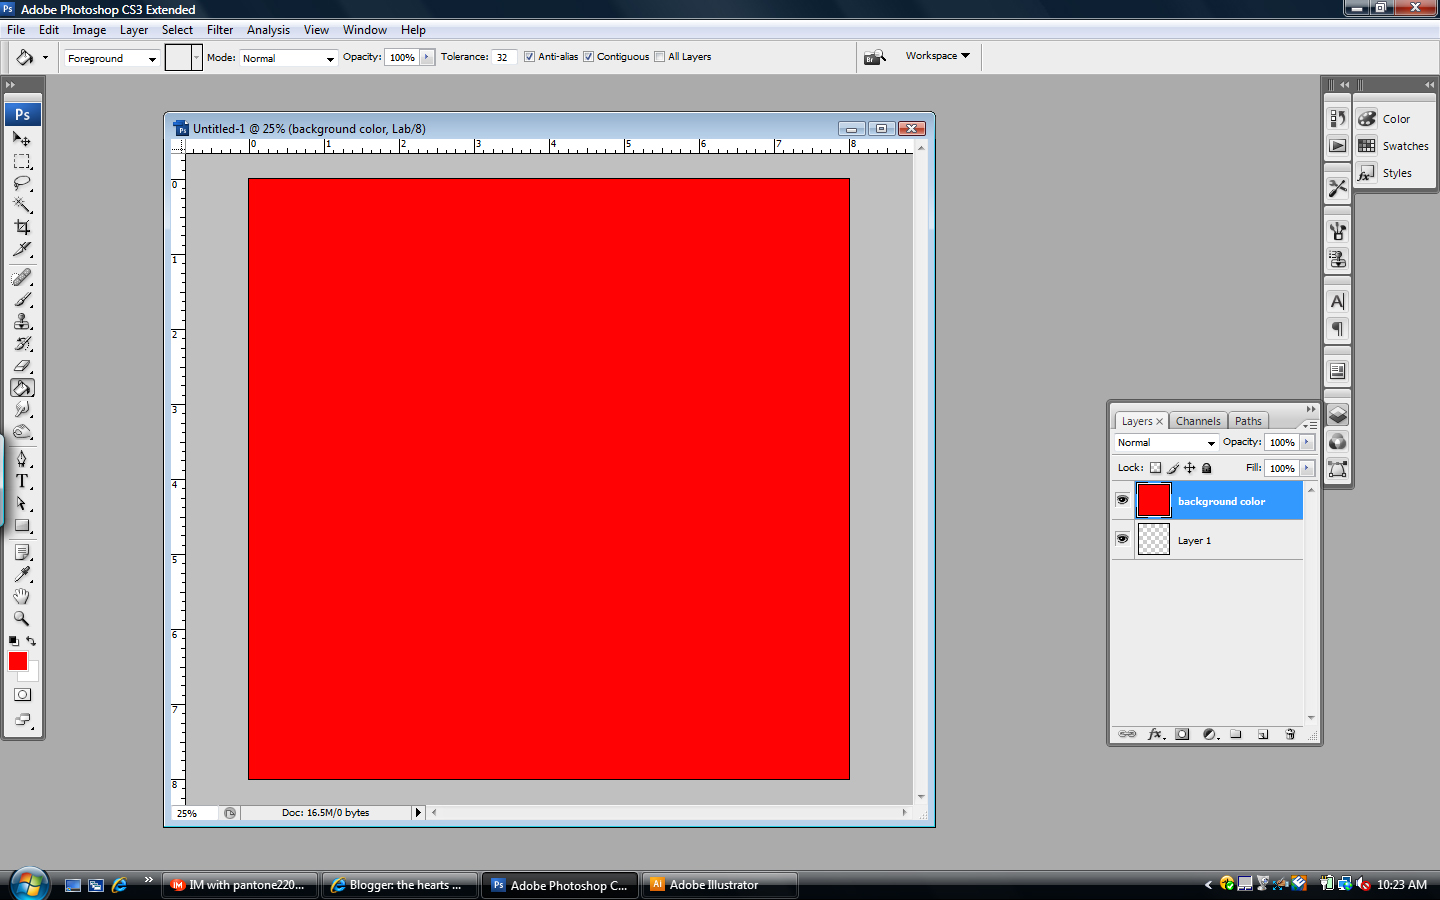
2) make a new layer called “polka dot 1”. (see part 2 of this tutorial for how to make a new layer) make sure this layer is highlighted in the layers window so it’s the layer you’re putting this first dot on.
3) set your chosen foreground color to black – see where you set the color to red in part 2 for how to change it.
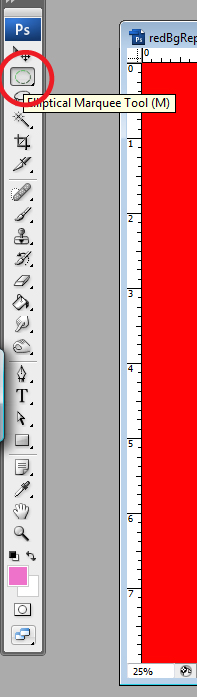
4) select the ellipticle marquee tool in your tools window (remember you can click on any of these images to see em bigger!):
5) now you’ll make a dot on your page! holding down the shift key, left-click and drag a circle on your document. holding down the shift key locks the proportions into a perfect circle – you don’t have to hold it down, but you most likely will get an oval and not a circle if you don’t… you’ll now see a blinking circle.
don’t stress out over where to make your circle, these directions will work no matter where you put your circle. don’t stress about how big to make it either, that’s all up to you!
6) select your paintbucket (see part 2 for how to do this)
7) fill your blinking circle with black!
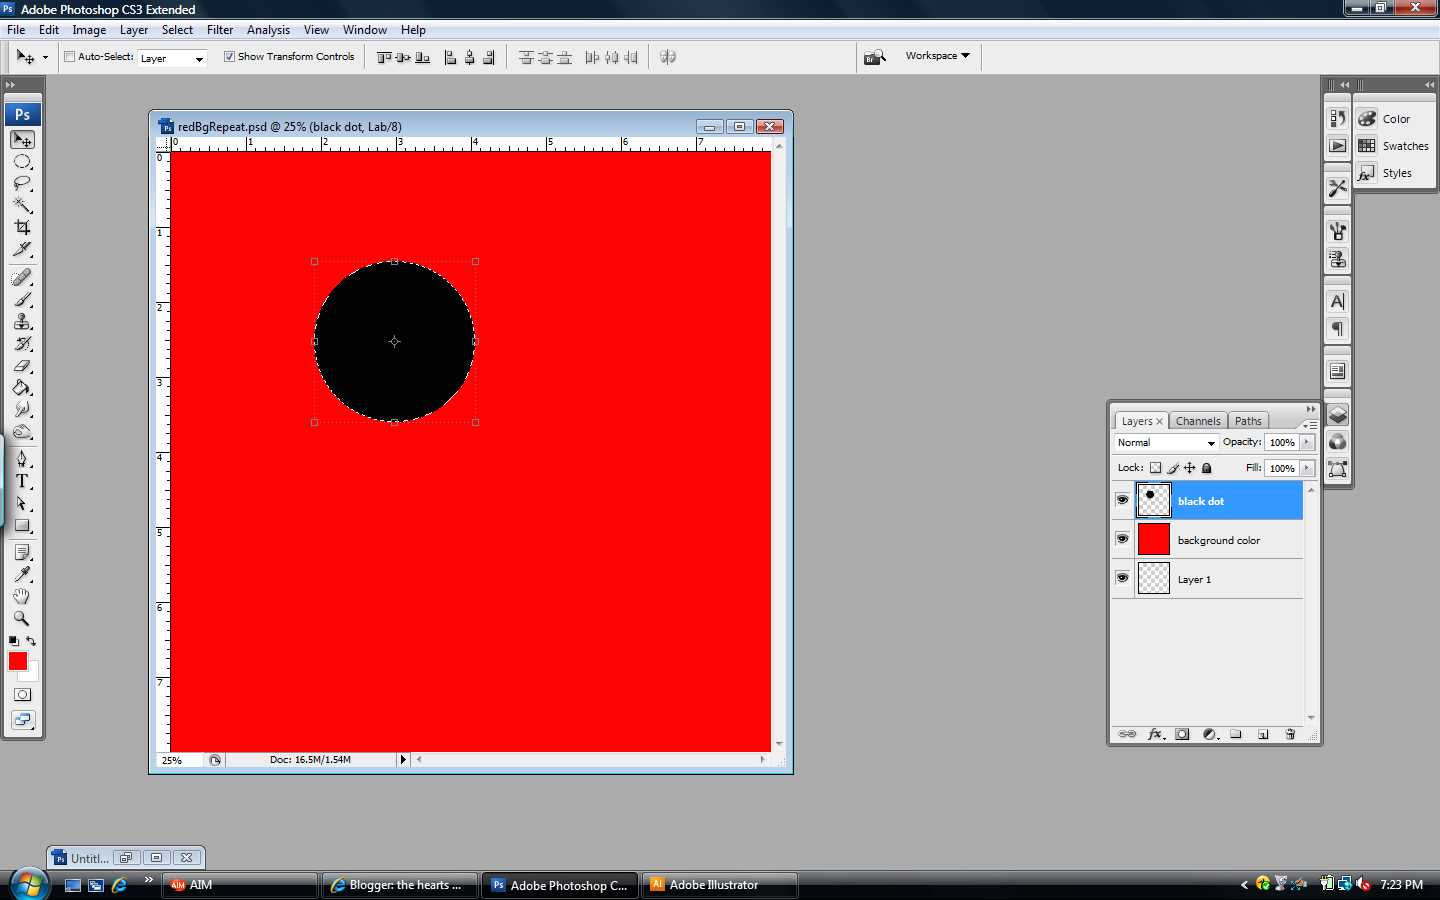
8) using the menus at the top of your screen, click select > deselect
9) ok now we’ll make an exact copy of that dot in that exact spot on another layer! making sure you select your dot layer, click and drag it to the new layer icon at the bottom of the layers window.
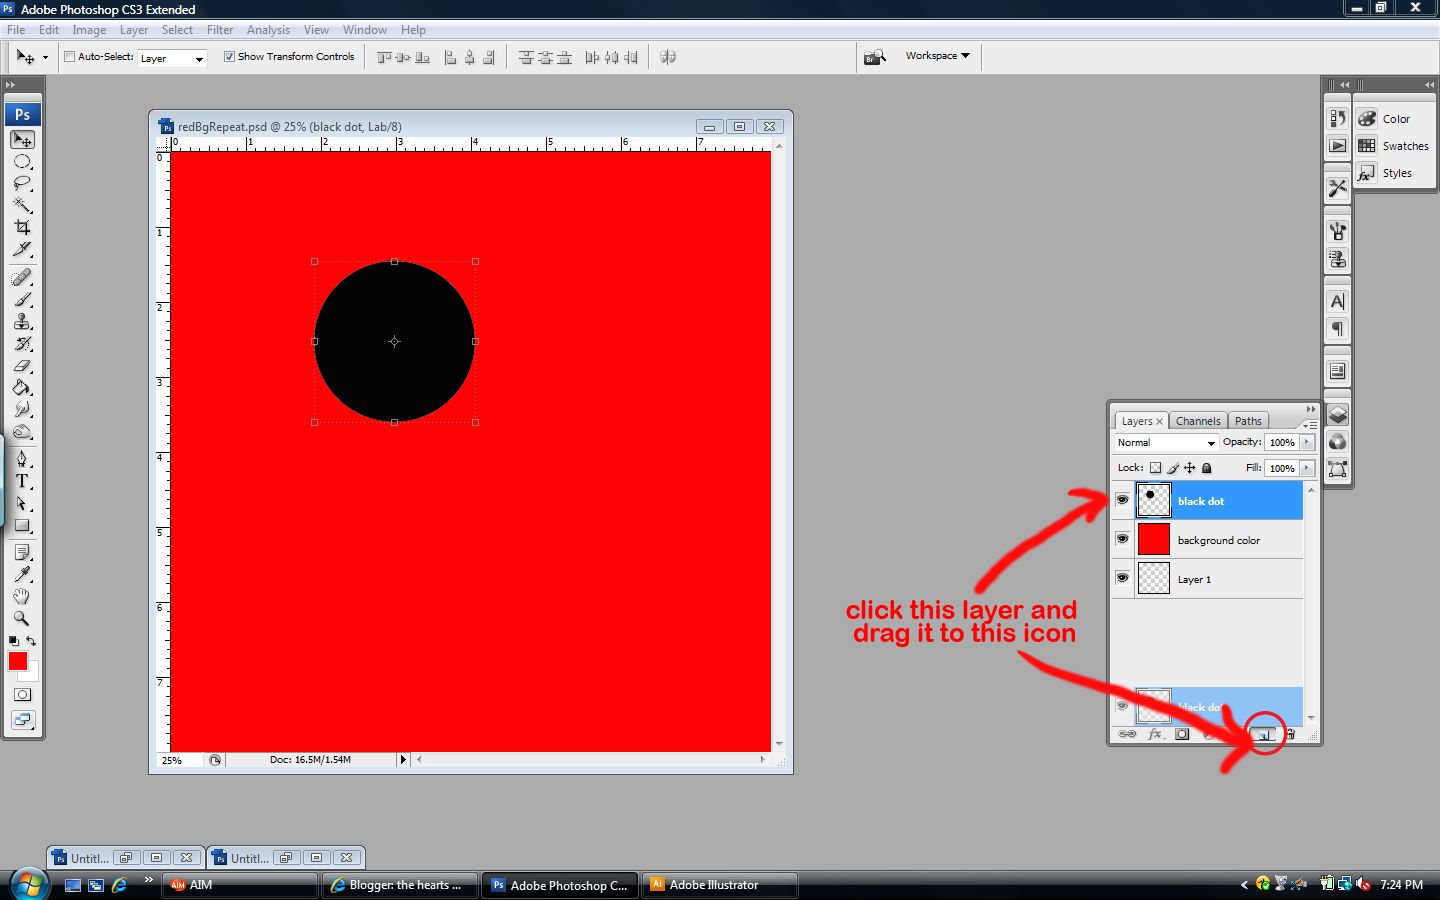
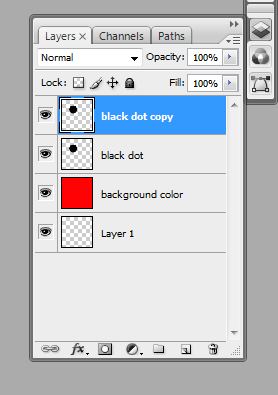
you should now see a layer appear that is the same as the layer you copied – it’ll have the word copy at the end of that layer’s name:
10) make sure your newly-copied layer is highlighted in the layers window, and that the black arrow is selected from the top of the tools menu. you’ll be moving the dot to a new position! from the menus at the top of the screen, pick edit > free transform. now look at the options bar at the top of your screen, and click the little triangle so that it’s a dark grey color.
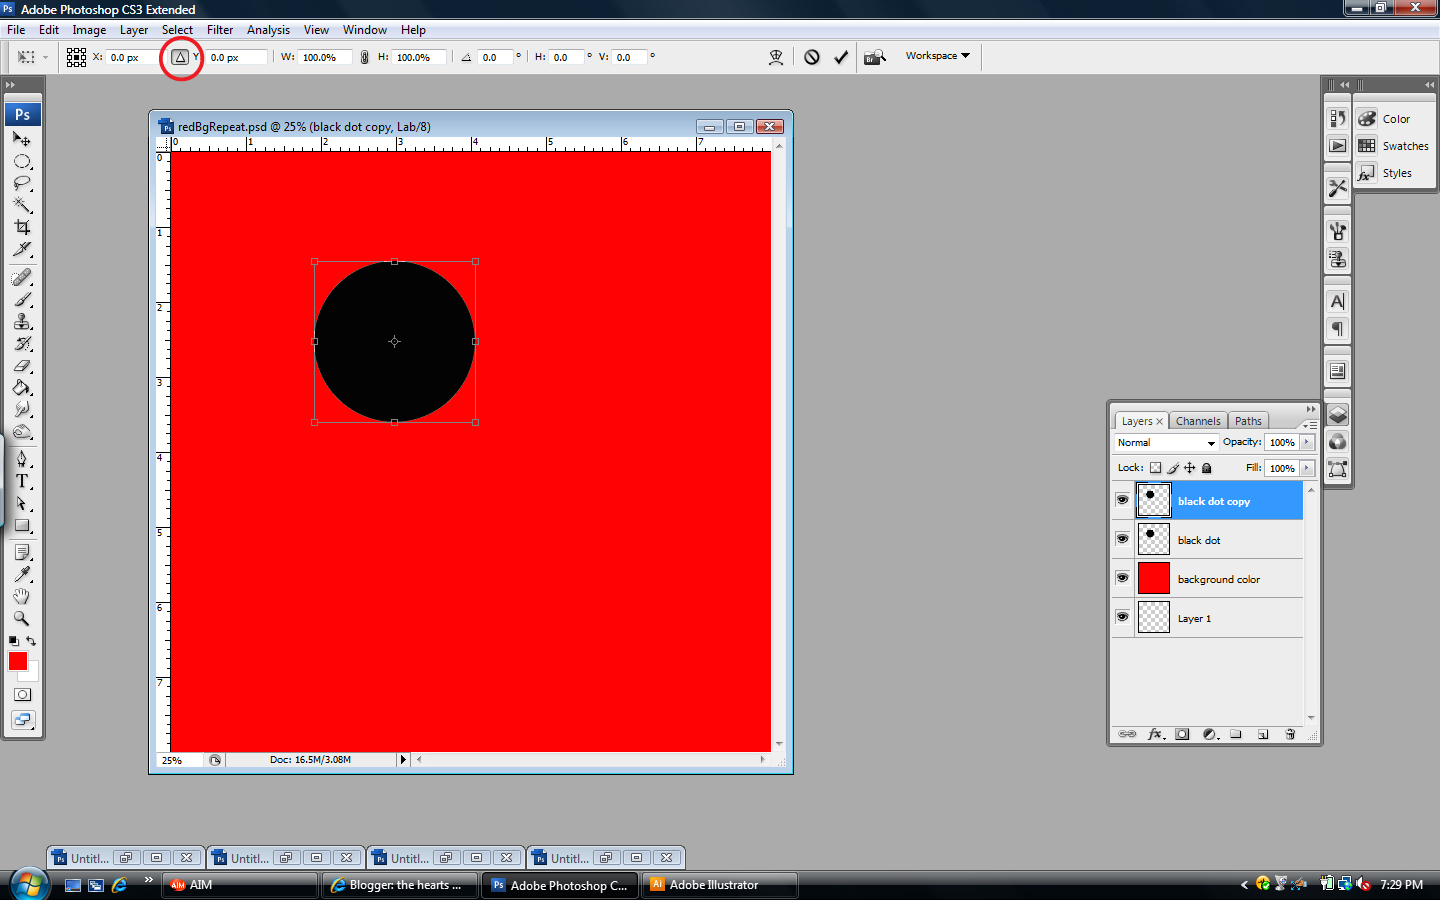
11) set the x value to 4 in and the y value to 4 in – you’ll most likely have to put the “in” for inches after your numbers! watch your dot move; so magical!
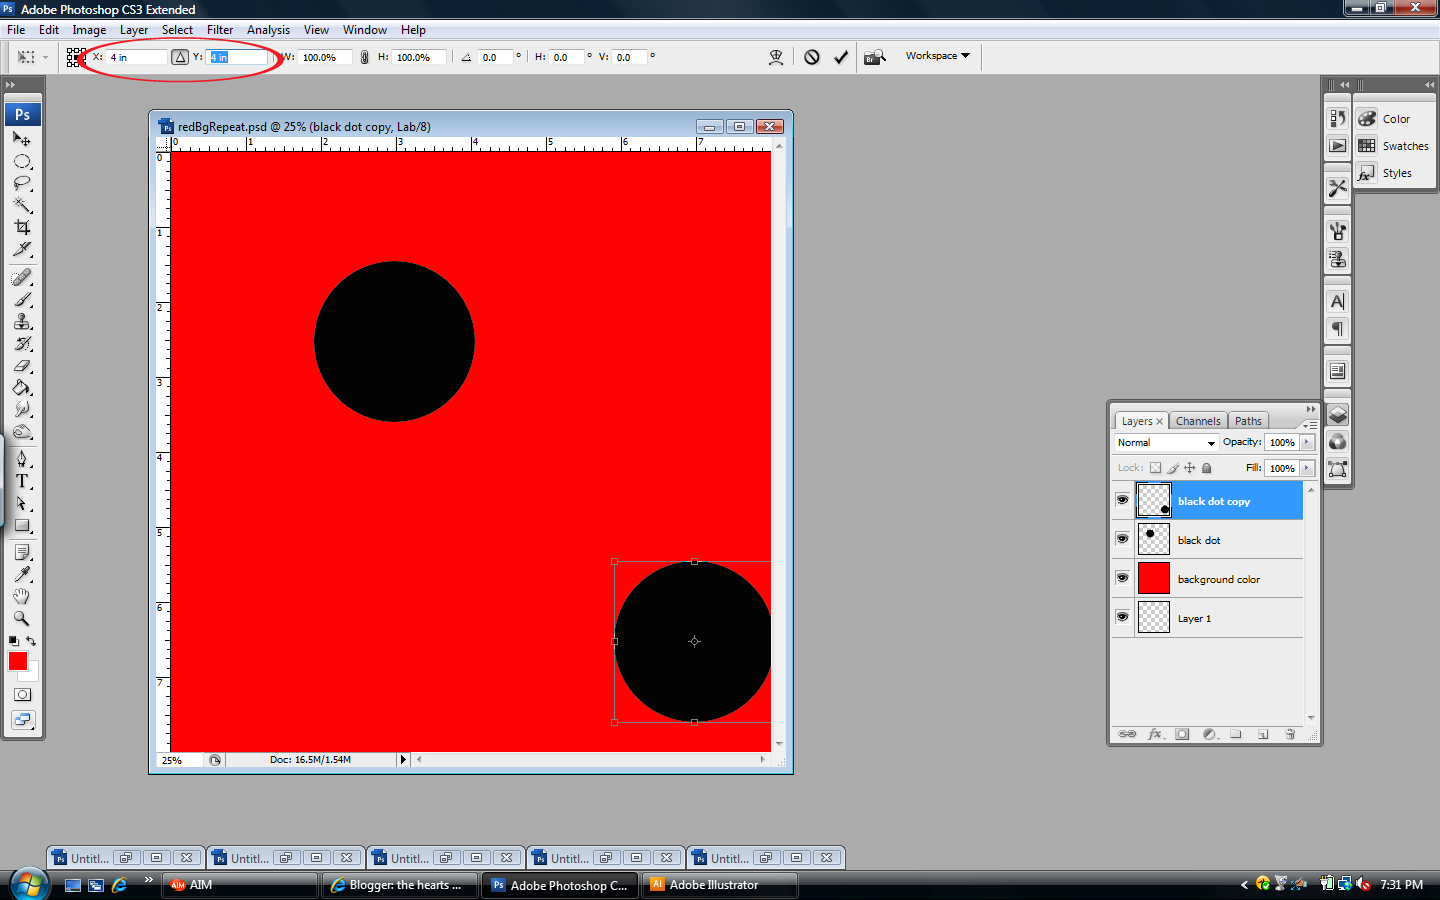
now check out the above picture – our second dot is cut off! if this repeat was sent to spoonflower as is, you’d get your fabric back with one good dot and one dot that’s missing a chunk. so! do this:
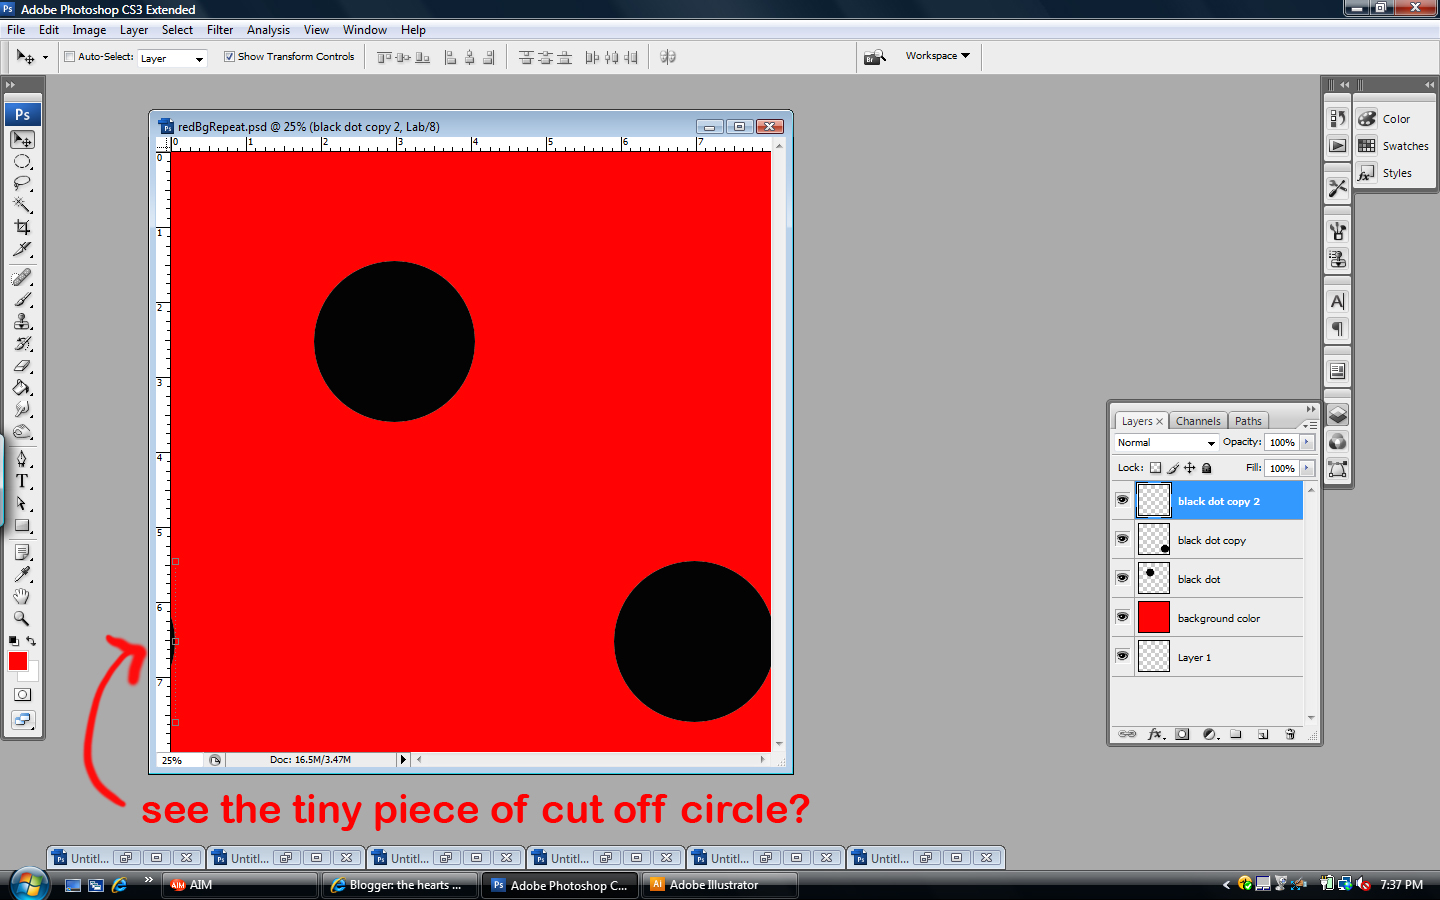
12) make a copy of that copy layer by clicking and dragging it to the new layer icon in the layers window. on the top layers menu, choose edit > free transform. making sure that triangle icon is dark grey, set your x value to -8 in and your y value to 0. you should now see a tiny chunk of circle on the other side of your 8″ x 8″ repeat!
and that’s it! you’ve just made a repeat! let’s check out how it’s done in illustrator:
creating a polka dot in illustrator
1) open the illustrator file we created in part 2.
2) select the ellipse tool from the tools window.

3) set the foreground color to black (see part 2 for how to do this)
4) with the ellipse tool selected, click somewhere inside your red square – set the x and y values to 2″ (or however big you want your dots to be).
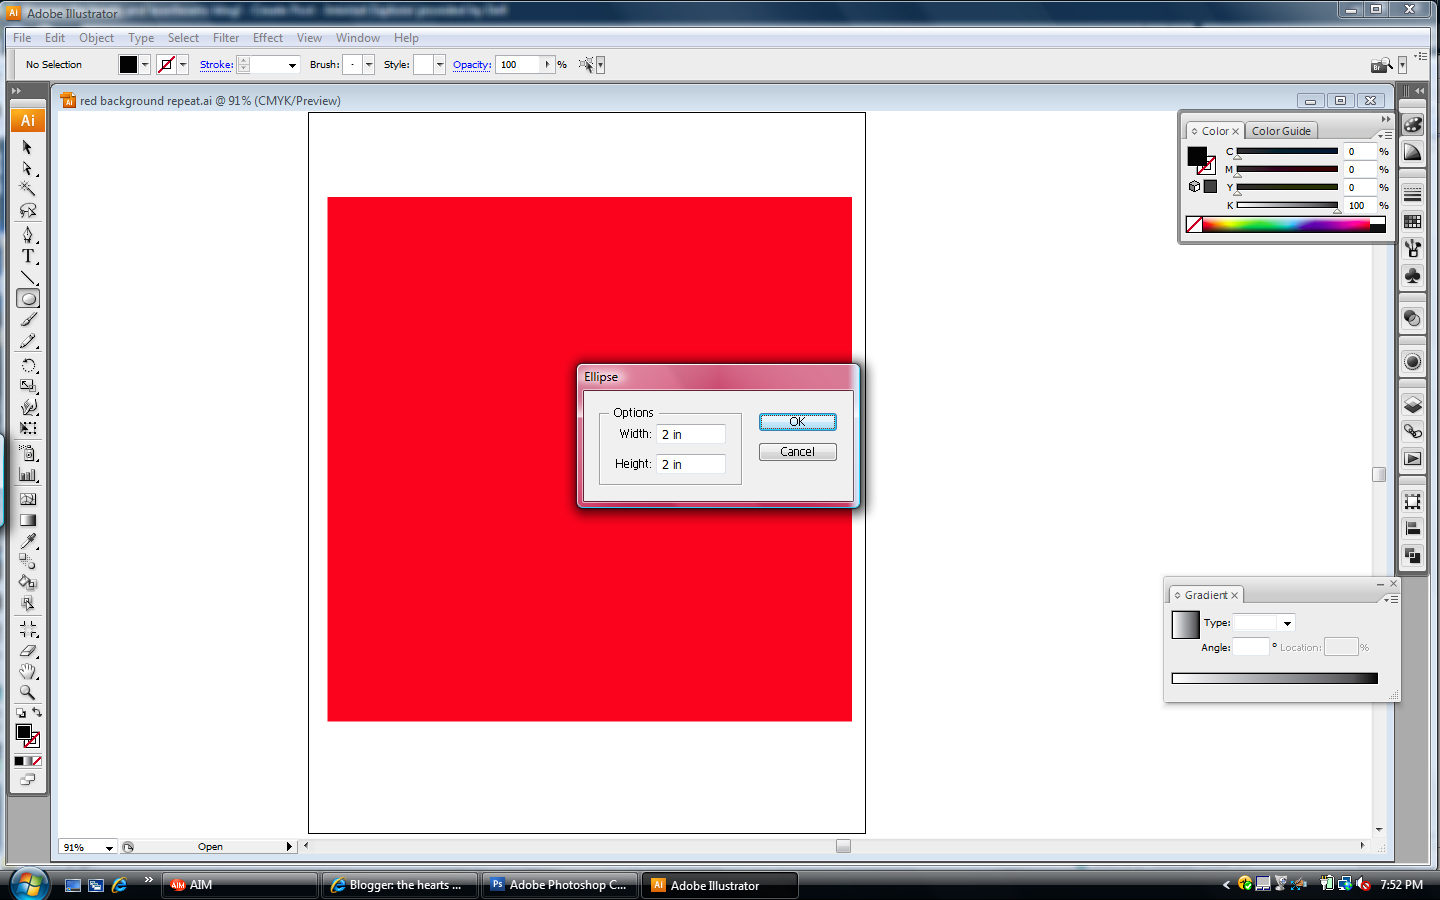
hit ok, and you’ll see a dot on your square!
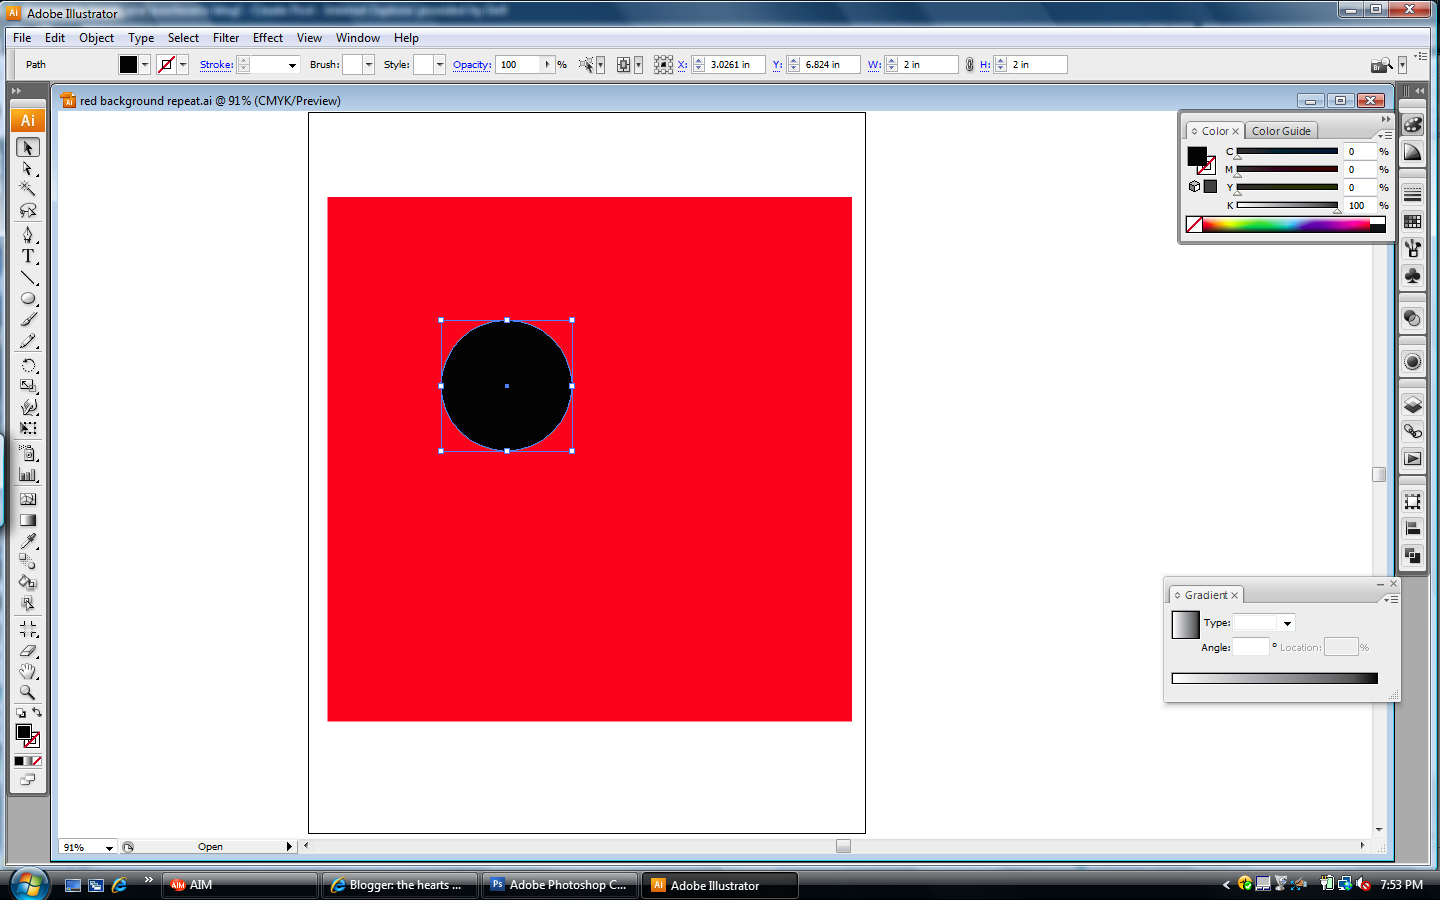
now we’re gonna make another one of those dots right on top of that one (just like copying that layer in the photoshop instructions). make sure the dot you made is still selected, and from the menus at the top of the screen choose edit > copy. then choose edit > paste in front.
you should not see anything change here, because the dot is right in front of the first one you made. it should still be selected! from the menus up top choose edit > transform > move. you’ll get a popup box, and you should set the x value to 4 in and the y value to -4 in. if you click on the preview box, you’ll see where it’s going to move to! hit ok and it’s moved!

in this example the dots are both contained inside the square. if your second dot is cut off on the side of the box though, its an easy fix! select that second dot, copy and paste it in front,and then move it, setting the x value to -8 in and the y value to 0. donezo!
if you want to move your dots so they’re contained in the box, you can do that to – using the black arrow you’ll just select dot 1, hold down shift and select dot 2 (shift lets you select multiple objects), and then move them to their new position! you just want to make sure your dots stay the same distance from each other or else your repeat won’t be a standard polka dot (which may be what you’re going for! in that case do whatever suits you!)
and that’s it for now! we’ve created a repeat in photoshop and a repeat in illustrator – next i’ll show you how to test them to see if they’ll work as a repeat!
do you have any questions on this part of the tutorial? ask away, ill help ya out!


Freelance illustrator Steph Calvert is an award-winning artist with 24 years of experience working as a creative professional. She is based in McDonough, Georgia, just south of Atlanta.
Steph Calvert has expertise as a children’s book illustrator. She is an expert surface pattern designer for art licensing and creates line drawings for publishing and product design. Steph has years of additional expertise as a mural artist, creating original art, and logo design for small businesses. She is currently querying literary agents with her first author/illustrator book projects.
Writing CLIENTS INCLUDE
Moonfrye.com
OC Weekly
Educational Highlights
National SCBWI Conference, 2023
Illustration Summer Camp – The Highlights Foundation, 2021
Make Art That Sells, 2017
BFA in Computer Art – SCAD, 1999