Your cart is currently empty!
hearts and laserbeams how to: repeat yourself, repeat yourself part 2
part 2: setting up your file
but steeeeeeeeeph, when are we gonna make repeats!!! i wanna make repeats!!!
patience, grassplopper – the most important thing about getting ANYTHING printed, whether it’s paper or fabric or your mother’s face, the most important thing is setting your file up correctly from the start so you don’t run into problems you have to fix later! this is important stuff! (if you wanna skip ahead though, don’t read today. come back tomorrow when we start building repeats! and when you run into color problems later, don’t come crying to me! 🙂
ok so let’s get down to it – on my end i’m running photoshop cs3 and illustrator cs3 on my laptop pc. (don’t tell any of my arty type friends… i dig how macs look but will always love pcs more) so i’ll be writing these tutorials based on that. if you’re not a graphics person and are not using these programs, i’m sure the info in these how-tos will still be useful, but you’ll need to poke around your particular program a bit to do what i’m talking about. if you’re looking at doing prints on fabrics a lot, i’d definitely recommend at the very least getting photoshop. there’s a cheaper version called photoshop elements; while it doesn’t have all the bells and whistles of a full version it does have all the basic stuff you’d need to do what i’m doing. so check that out! (also, incidentally, if you decide to get photoshop and illustrator and want to learn how to use em i totally recommend the classroom in a book series, it rocks!)
so should you create your repeat in illustrator or photoshop? that depends completely on the type of graphic you’re creating. are you creating a repeat that’s got very clean graphic lines, like a stripe, plaid, dot or cartoony type character? you’ll wanna use illustrator to start with (but you’ll switch to photoshop at the end when you’re preparing the file to send). are you creating a repeat that’s more arty, like something that looks handdrawn or painty, or even using a photo? you’ll wanna use photoshop from the start.
keep in mind when you’re making something for yourself, there’s no right and wrong, it’s all based on the following line of questioning: do you like it? yes? great you’re on the right track. no? ok tweak it until you like it and there you go! that being said, for spoonflower you can make your repeat pretty much ANY size you want. 1″ wide by 8″ high, 3″ wide by 1″ high, the sky’s the limit!
for the sake of explaining, i’m gonna say we’re making a repeat that’s 8″ x 8″. so do it! click on any of these screenshots for a bigger view!
photoshop file setup:
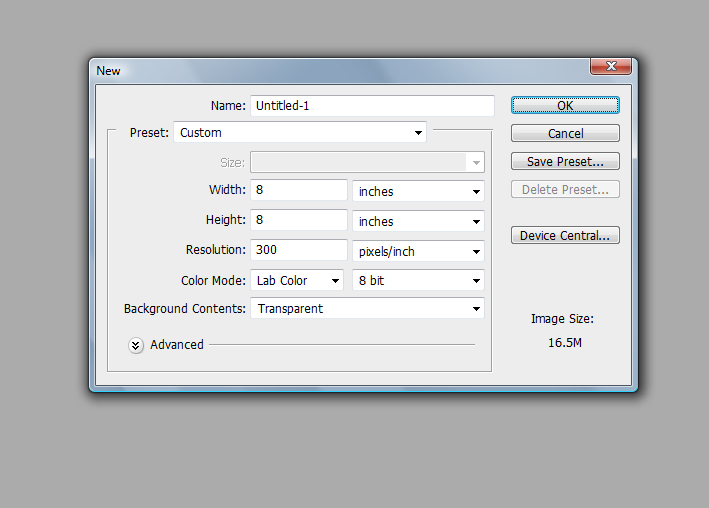
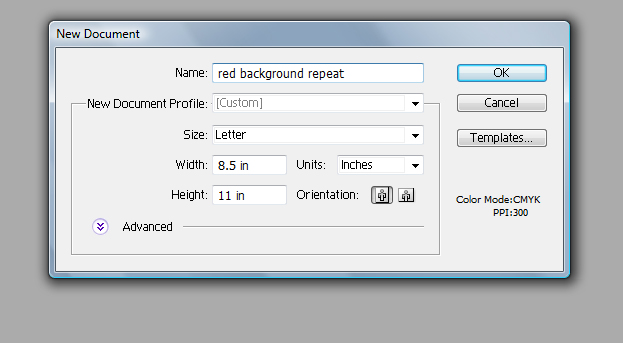
1) select file>new
2) you’ll get a popup box. make sure you enter the info as follows (if you’re making a repeat that’s a different size you’ll put in your own dimensions)
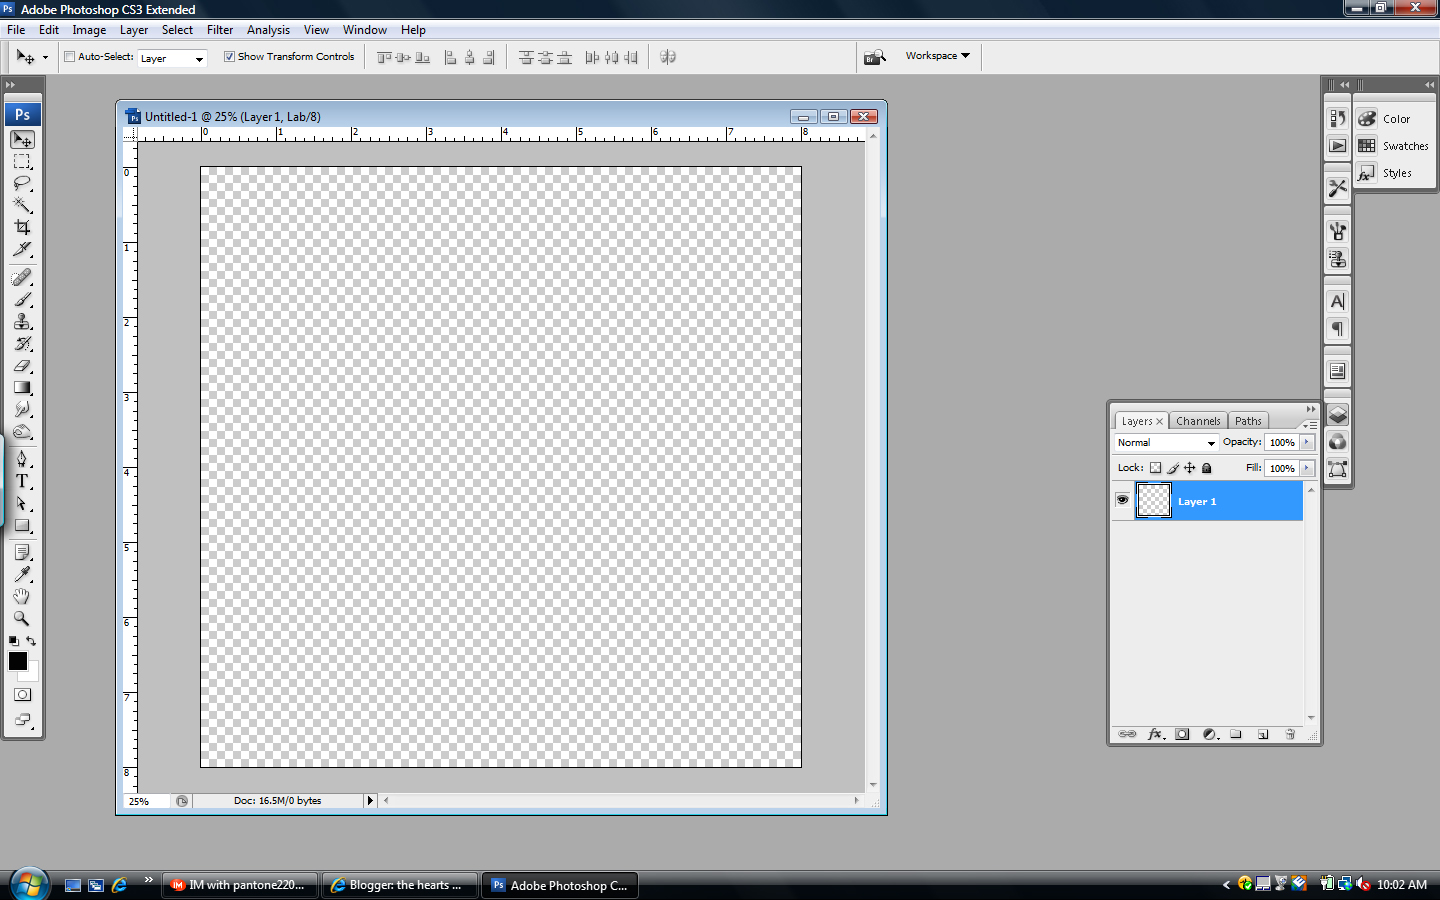
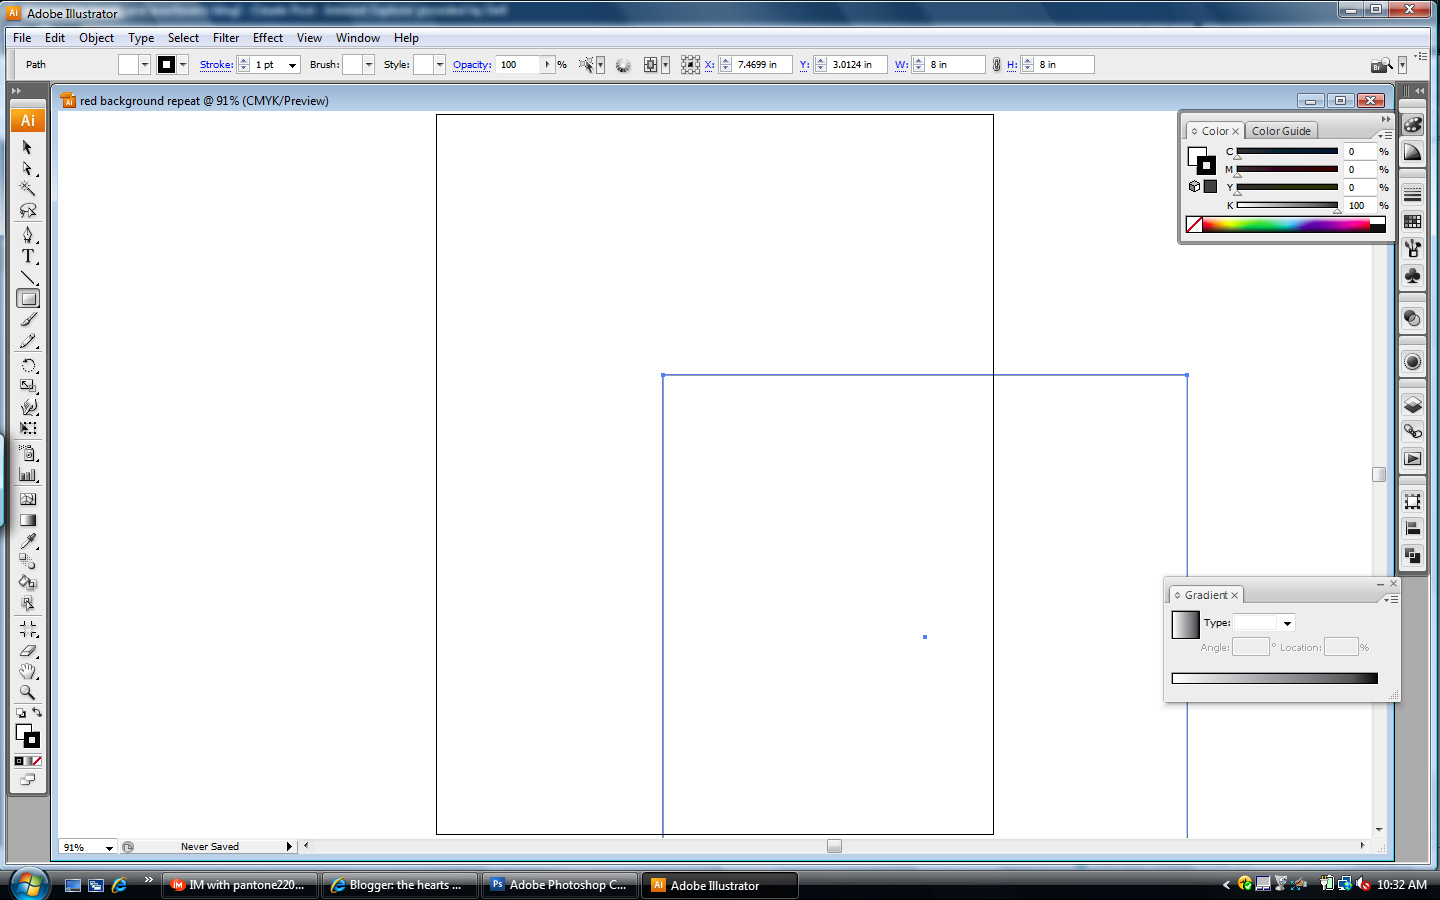
3) you’ll have a file that looks like that checkerboard box:
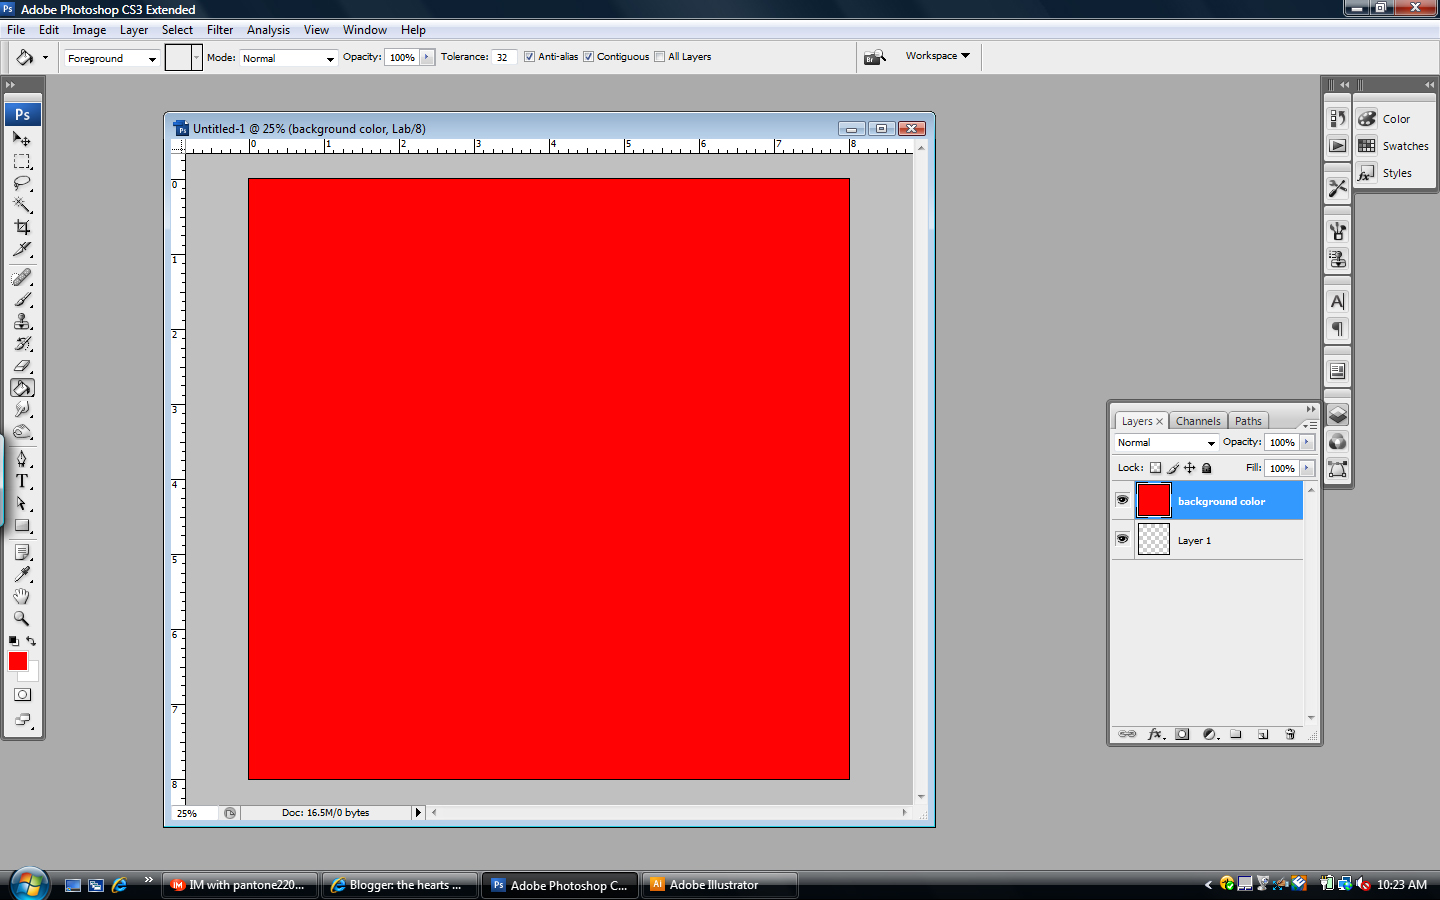
4)let’s say you’re making a repeat with a red background. something that you need to keep in mind when you’re creating your photoshop files is that layers are your friends – they’ll keep everything separated so if you need to move something around it’s quick and painless and fabulous! we’ll make a new layer that’s a red background, and you can change that color to whatever you want if you decide to make it something else later without causing yourself any grief!
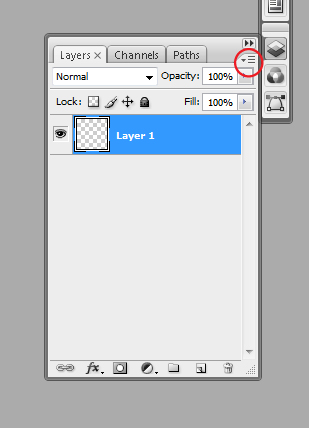
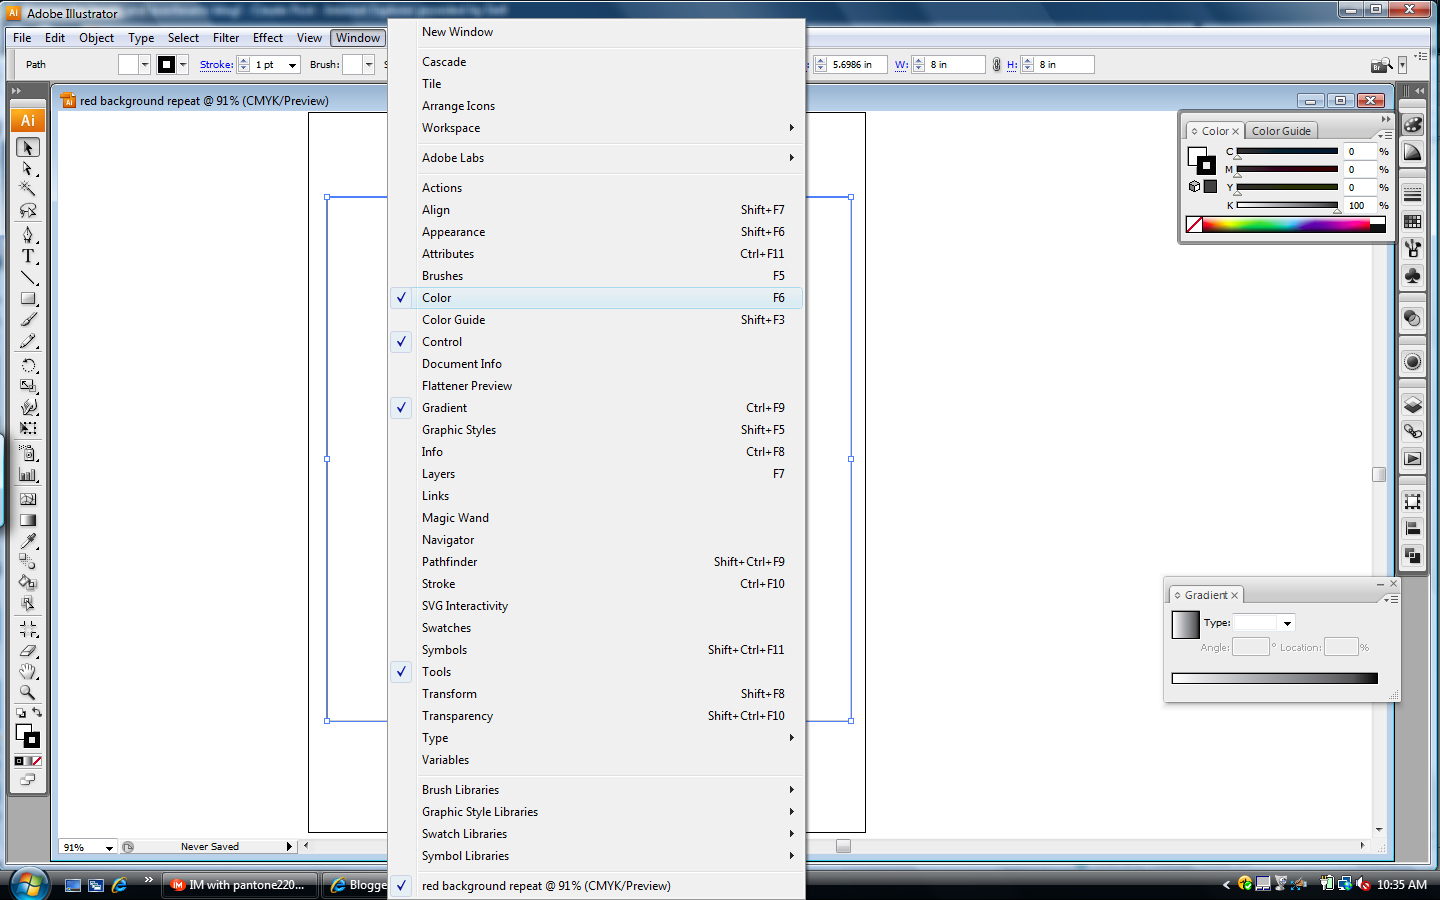
so first make sure you can see your layers window. do this by going to the menu at the top of the screen, and go to windows > layers.
in your layers window, click on that little arrow pointing down with 3 horizontal lines next to it on the top left and choose “new layer”.
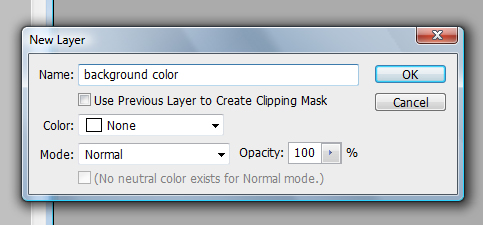
give the layer a name that makes it easy to see what’s on that layer and hit enter.
now we’ll make that layer your red background! check out the tools window of photoshop – if it’s not already open, you can get there from that top row of options and click window > tools. at the very bottom of the tools window you’ll see two colored boxes. click on the top left one

you’ll get a color picker window that’ll pop up! you can play around with this as much as you want to get your particular shade, enter cmyk rgb or hex numbers, or you can click on the color libraries and pick a specific pantone color if you’d like! (click on the color libraries rear endon to see all those options, and click on color picker to get back to the color wheel!)

so pick your color, hit “ok”, and that little box of color in the tools window is now whatever color you picked!
this next part is easy, we’re just gonna fill that background layer with your red and it’s good to go! in photoshop cs3 the paintbucket is a tad hidden – click and hold on this gradient rear endon, and the paintbucket will appear. then choose the paintbucket!

have your paintbucket selected? just click it on the background color layer and pow! file’s ready for making a repeat!
*****
but steeeeeeeeeph, i’m gonna use illustrator! what do i do!
man you best calm down i’m getting to that!
illustrator file setup:
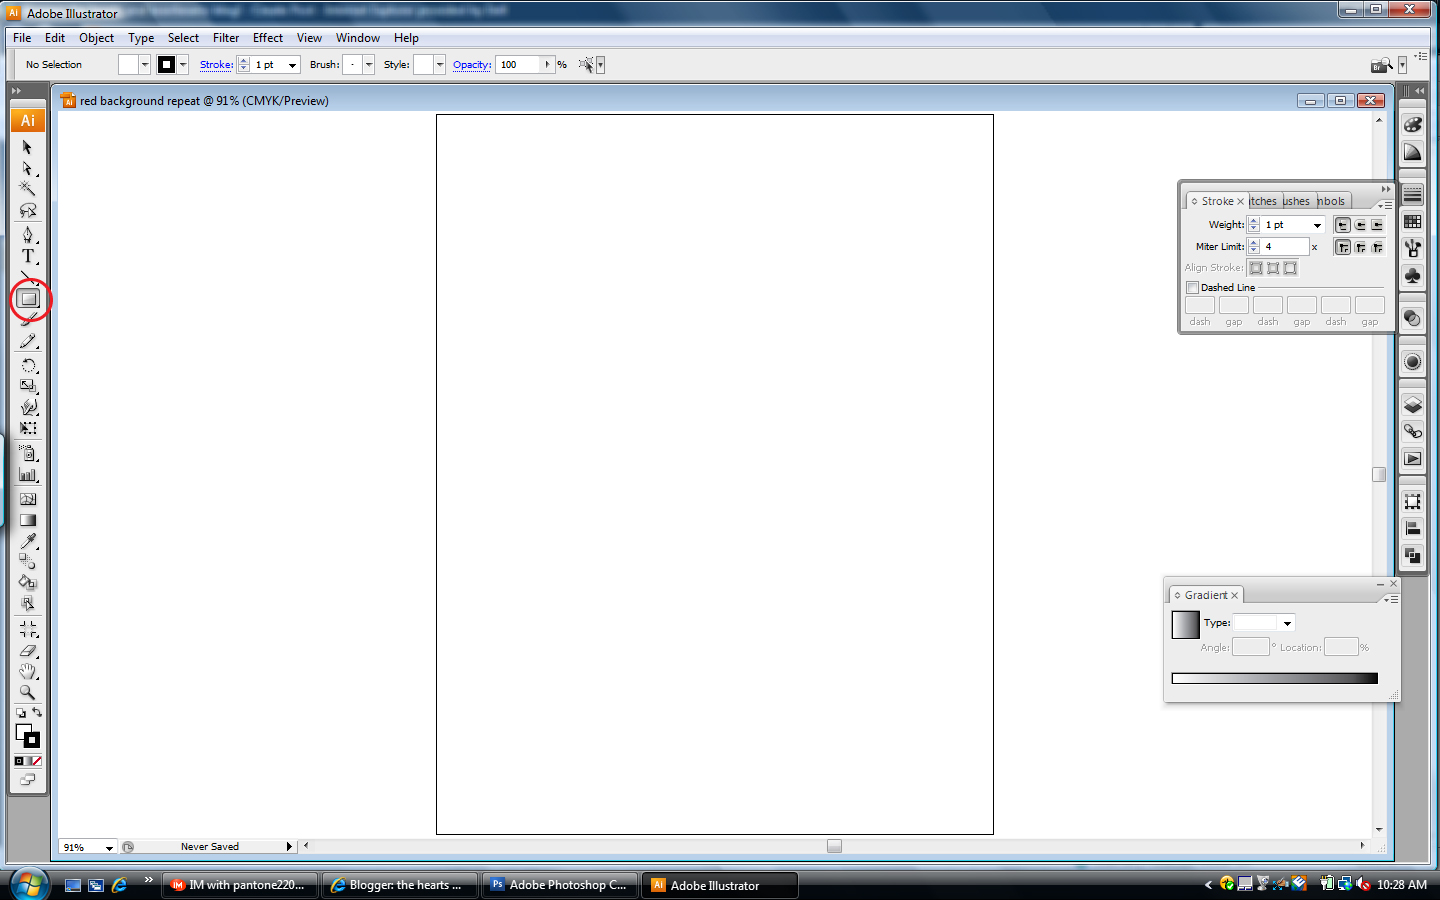
1) from that top menu, click file > new
2) give it a snazzy filename and hit ok! for this project, the page size doesn’t matter. we’re only using illustrator to create the file and will be exporting it as a tiff later. so don’t change anything there!
3) layers aren’t aaaaaaaaas important on the illustrator file because these are much simpler pieces to work with for the most part! so let’s make your background square!
if your tools window in illustrator isn’t open, click windows > tools.
you’ll be clicking on this rectangle tool. if it doesn’t show up but another shape is showing up in that spot, click and hold on that other shape and you’ll see a box appear with more shapes to choose from – click on that rectangle or else!
4) click once in the middle of your page and you’ll get this popup:
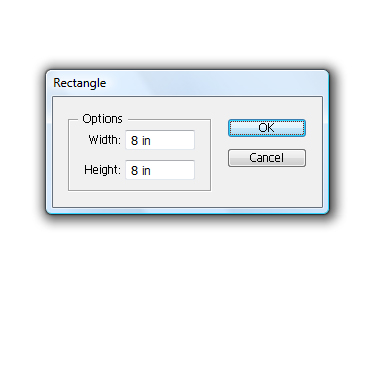
set the measurements to 8 inches by 8 inches and hit ok, and you’ll see a box appear on your screen!
it almost never shows up exactly where you want it to – if that’s the case (like pictured) you can choose that black arrow on the top of the tools window and move it wherever you’d like!
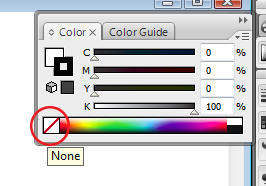
5) now we’ll set the color – using that black arrow, click on the square you just created. if you don’t already see a window called “color” on your screen, go to the windows menu at the top of the screen and choose color.
with that square you created selected, look at the color window – there’s 2 colors to adjust. the outline color, and the fill color. set the outline color to none.
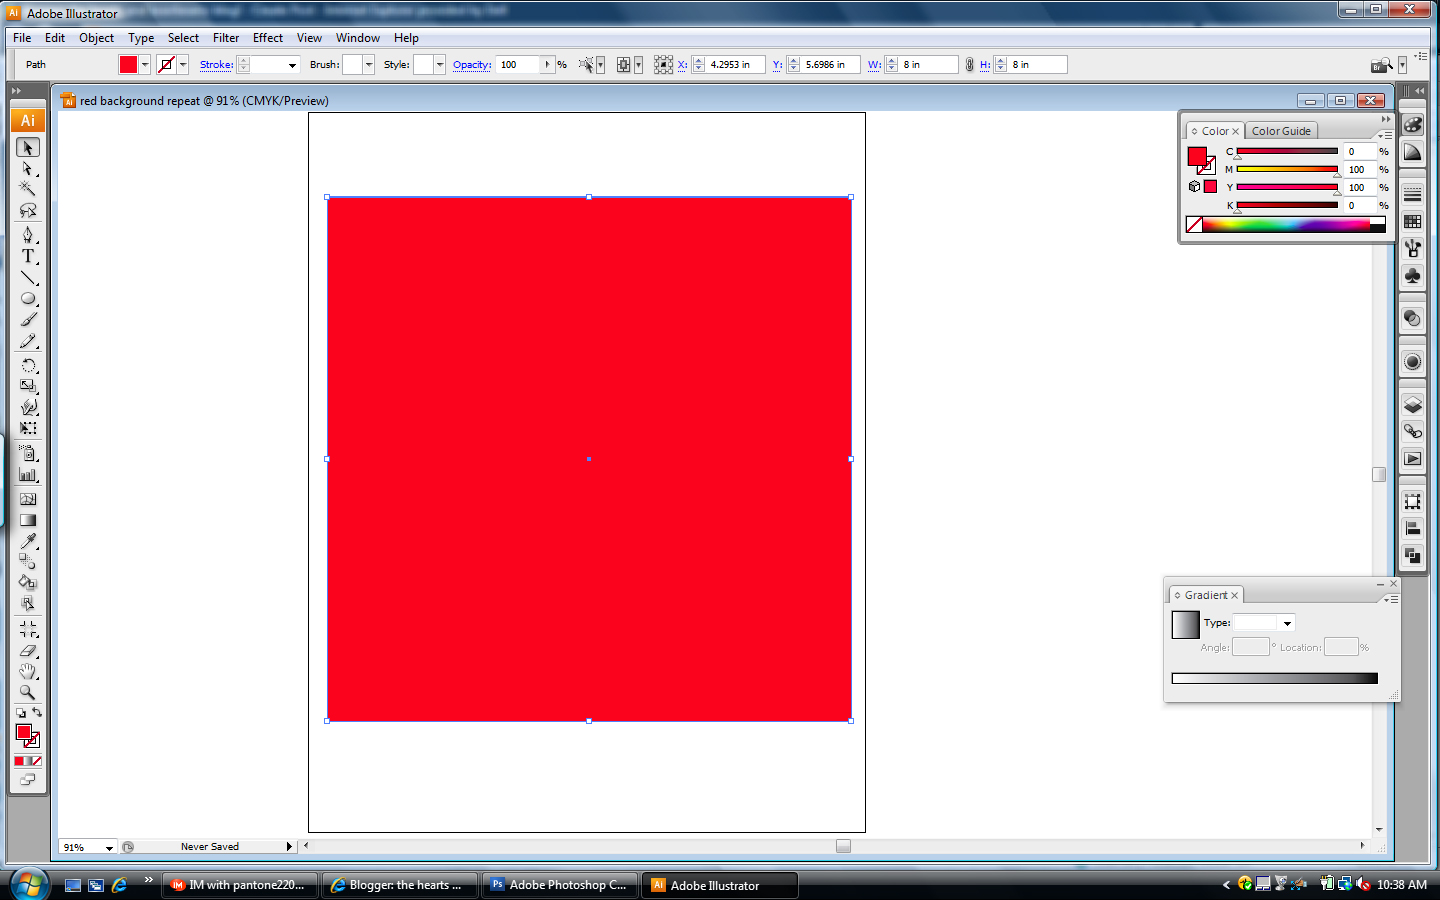
then click on the fill color and set it to whatever color you’d like, in this case we’re usin a red. there’s color sliders that you can play with in illustrator – if you’d like to use a particular pantone, you can go to windows > swatch libraries > color books and then pick whichever color standard you’d like!
and that’s it! if you have any questions absolutely ask away! and stay tuned, next time we’ll get into creating a simple repeat!


Freelance illustrator Steph Calvert is an award-winning artist with 24 years of experience working as a creative professional. She is based in McDonough, Georgia, just south of Atlanta.
Steph Calvert has expertise as a children’s book illustrator. She is an expert surface pattern designer for art licensing and creates line drawings for publishing and product design. Steph has years of additional expertise as a mural artist, creating original art, and logo design for small businesses. She is currently querying literary agents with her first author/illustrator book projects.
Writing CLIENTS INCLUDE
Moonfrye.com
OC Weekly
Educational Highlights
National SCBWI Conference, 2023
Illustration Summer Camp – The Highlights Foundation, 2021
Make Art That Sells, 2017
BFA in Computer Art – SCAD, 1999
2 responses to “hearts and laserbeams how to: repeat yourself, repeat yourself part 2”
awesome, great information. Thanks Steph!
no prob! i’m takin a day off from the repeat tutorial today to post pics from this week’s zoo trip, but stay tuned we’ll get back into it this weekend!